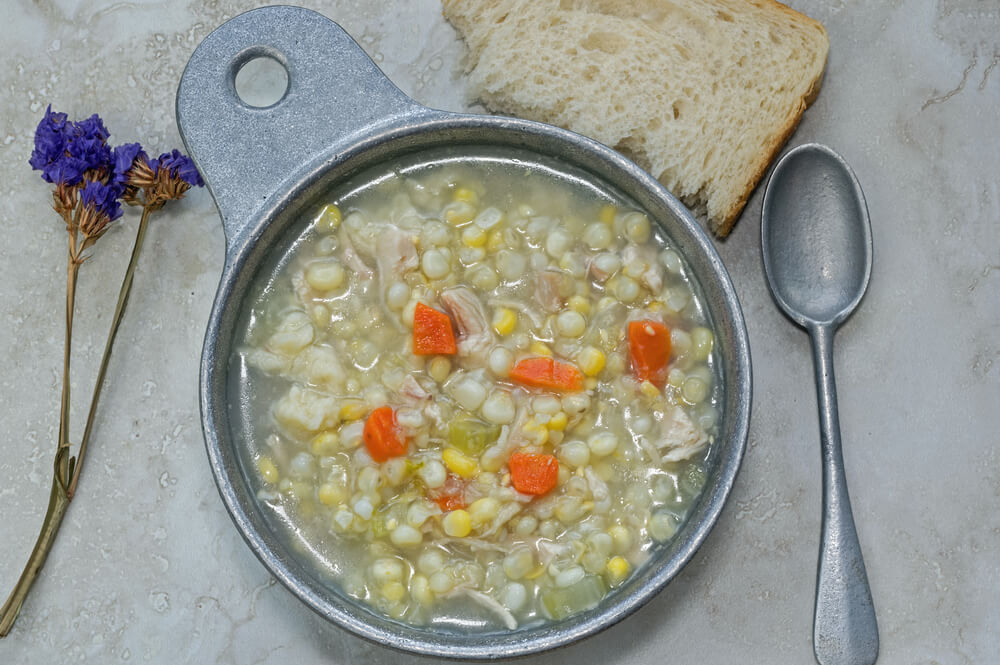
When it comes to comfort food, the Pennsylvania Dutch have some of the best recipes to satisfy your cravings. And one of our favorites during the cold months of the year is a good bowl of Pennsylvania Dutch chicken corn soup.
Jump to our recipe here and keep reading to the end for tips on storing your soup. We also provide instructions further down on canning soup if you want to preserve it for longer.

Getting Ready: Pennsylvania Dutch Chicken Corn Soup Ingredients
One of our favorite parts of making this soup is that it’s easy to scale up. If you’re planning to serve this to a large crowd or want to have extra on hand for meal prep, make sure to multiply this recipe and buy your ingredients in bulk to save. (Our recipe below serves 5.)
Also note that our recipe includes ingredients for soup rivels, which are a hallmark of authentic Amish chicken corn soup.
Soup Supplies
- 12 cups water (3 quarts)
- 4 chicken legs (whole)
- 2 tablespoons chicken base (concentrated chicken stock)
- ½ cup celery (chopped)
- ½ cup onion (chopped)
- 2 cups corn (frozen)
- ½ teaspoon onion salt
- ½ teaspoon celery salt
- 2 tablespoons dried parsley
- Salt and pepper (to taste)
Rivel Supplies
- 2 eggs
- 2 cups flour
- A dash of salt

You can get all of the Pennsylvania Dutch Chicken Corn Soup ingredients in a bulk food store.
PA Dutch Chicken Corn Soup with Rivels Recipe
One note before you get started is that you’ll be making the rivels in between cooking your soup. So there’s no need to prep those before starting the soup. Now let’s jump in so you can make your own tasty Amish chicken corn soup!
Servings: 5
Time: 50 minutes
- Fill a stockpot with 12 cups (3 quarts) of water and place your chicken legs in it. (Add a few pinches of salt in as well.)
- Turn your stove on high and bring the water to a rolling boil. Then cut it back to a low setting, place a lid on top, and let the chicken simmer for 12-15 minutes.
- Cook your chicken legs until they reach a safe temperature for poultry. (We recommend checking it with a cooking thermometer.) The chicken should be nice and tender when finished.
- Next, remove the legs from the broth they cooked in and strain the broth. (Don’t discard it, simply remove anything that came loose while cooking the chicken.)
- Put your broth back in the stockpot and add in the celery, onion, frozen corn, and chicken base. Let it cook for five minutes.
- In the meantime, work on picking the meat off the bone and shredding it, so the chicken is ready to add back in.
- After you’re finished with the chicken, it’s time to make your dough rivels. Start by cracking and beating the eggs, and then stirring in the flour and salt. (Note, it may be easiest to use either a fork or knead the mixture with your hands.)
- When a thick dough mixture begins to form, work it into small chunks.
- Then add those small rivels into the soup mixture slowly.
- Next, add your shredded chicken, onion salt, celery salt, and parsley. Let it cook and stir occasionally until you see your rivels starting to float. (Usually about 5 minutes.)
- Serve your finished Pennsylvania Dutch chicken corn soup with rivels along with some freshly baked bread or let it cool to store.
Tips For Storing Chicken Corn Soup With Rivels
Want to enjoy the benefits of meal prepping or make this soup to share? If you’re refrigerating or freezing it, we’ll first look at how to cool the soup safely. This is crucial because soup can grow bacteria when stored improperly.
Here are the steps to get started:
- Clean out your kitchen sink and then fill it with clean water (cold) and ice.
- Next, divide your soup into smaller, shallow containers. Breaking it apart will help it cool faster than leaving it in the stockpot.
- Place the open containers in the ice water, while being careful to make sure water doesn’t mix with the food inside.
- Try to follow the two-stage cooling method to cool your soup. It should be at 70 degrees Fahrenheit within 2 hours and 41 degrees Fahrenheit or lower by 4 hours.
Next, you’ll need to decide if you’re storing it in the fridge or freezer. Below we’ll detail each.
Storing Soup In The Fridge
After following the steps above to cool your soup, grab a container that has a good, strong seal. Ladle the cooled soup into it and if the soup is at 40 degrees Fahrenheit, snap the lid in place. From there, enjoy your soup within the next 4 days.

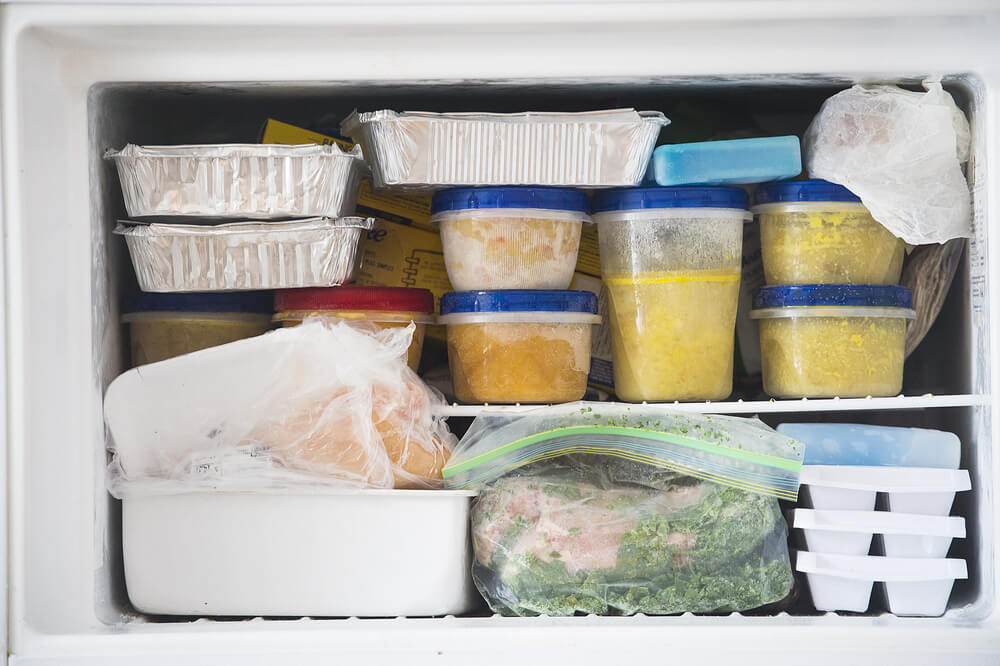
Pa. Dutch Chicken Corn Soup is great to store in your freezer for the future.
Storing Soup In The Freezer
Looking to enjoy your tasty Pennsylvania Dutch chicken corn soup for longer? Then freezing it is the better choice.
To do this, just ladle your soup into a freezer-safe container but leave a ½ inch space between the lid and soup. (This gives the soup room when it expands during the freezing process.)
Place the lid on and then make sure to label the container with what’s inside and the date. After that, enjoy it within 3 months of freezing.
How to Can Chicken Corn Soup
While canning is effective for preserving fresh produce, it’s also great for soups. Going this route requires some extra steps, but it allows you to store the soup for longer.
That said, our one tip is to avoid making the rivels if you’re going this route. The starch in them will mess up the heat processing that is required to properly can food.
We also recommend that while you’re making the soup above you get your canning equipment ready. You’ll need:
- Canning jars (pint size)
- Lids and bands
- A jar lifter, canning ladle, funnel, & bubble popper
- Clean dish towels
- A pressure canner & canning rack
If you’re wondering “do I really need a pressure canner” the answer is yes. Soups in particular should not be canned without one.

Instead of freezing your soup, you can also can it and store or give it away to your friends and family.
Steps For Canning
Here is an overview of how to can Pennsylvania Dutch chicken corn soup safely. We recommend you also reference the guide with your pressure cooker and strictly adhere to its instructions to prevent burns and other serious accidents.
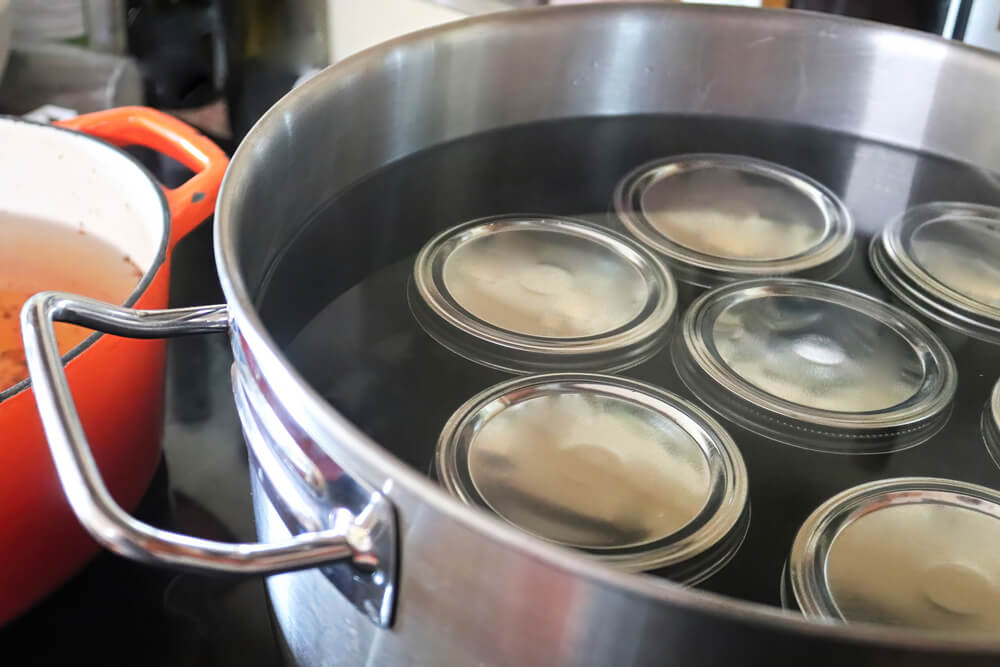
- Sterilize your jars by submerging them in boiling water for 10 minutes as you prepare the soup recipe above. (Do it towards the end of cooking your soup.)
- Once that 10 minutes has passed, remove the jars from the water with your jar lifter and place them upright on top of a clean, flattened dish towel.
- Fill the jars with the finished soup up until there’s 1 inch of room between it and the rim.
- Next, remove air bubbles from the jar with a bubble remover tool.
- Then take a wet paper towel or clean, damp washcloth and wipe the jar rims to clean them of any residue.
- Add the lid on top and then a band around it, hold the jar with a towel (since it has hot soup inside), and twist it tight to close.
- Afterwards, lower the sealed jars slowly into your pressure canner in a single layer, on the top of the rack. If you have a lot of jars, consider adding a second rack to double stack.
- Next, close the pressure canner and lock your lid. Heat it on high until you see white steam coming out steadily. Allow it to do this for 10 minutes.
- Then place the weight onto the vent port, which should be near your pressure gauge. Doing this lets pressure build in the next 5 minutes.
- Finally, process your jars according to this canning reference chart, starting your timer when the pressure listed on them is reached. Note that the pressure level you need to use is related to your altitude. If you’re up at a higher altitude, you’ll need more pressure. On the flip side, if it’s rising more than what you need, lower the temperature. Your goal is to keep it constant during the canning time, because if it drops too low you’ll have to restart the whole process.
- When your timer goes off, turn the heat off immediately and wait for your pressure canner to go to zero. We also recommend you avoid force venting, which can actually warp your leads and possibly force the liquid back out of the jar.
- Remove your weights and wait another 5 minutes before opening the pressure canner’s lid.
- Leave the jars inside the open canner for 5 more minutes and then remove them with a jar lifter. (Be cautious, they’ll be hot.)
- Allow your jars to cool overnight on top of a dish towel.
- Then add the date and store them in your pantry.
If you want to try more Amish canned goods recipes, check out our other Amish Canning recipes.
Homemade PA Dutch Chicken Corn Soup (w/ Rivels!)
Difficulty: Easy5
servings15
minutes50
minutes1
hour5
minutesIngredients
- For the Soup:
12 Cups Water (3 quarts)
4 Whole Chicken Legs
2 Tbsp. Chicken Base (concentrated chicken stock)
½ Cup Celery, Chopped
½ Cup Onion, Chopped
2 Cups Corn, Canned or Frozen
½ Tsp. Onion Salt
½ Tsp. Celery Salt
2 Tbsp. Dried Parsley
Salt and Pepper to Taste
- For the Rivels:
2 Eggs
2 Cups Flour
Dash of Salt
Instructions
- Start Your Soup:
- Fill your stockpot with water. Add your chicken legs and a few pinches of salt.
- Bring the water to a rolling boil, then cover and simmer for 12-15 minutes.
- Cook until the chicken legs are tender and reach an internal temp of 165℉.
- Remove the legs from the pot and strain the contents of your pot into another container. DO NOT DISCARD — you will use this as your chicken broth.
- Put your broth back in the stockpot and add in the celery, onion, frozen corn, and chicken base. Let it cook for five minutes.
- While that cooks, pick the meat off the bone and shred it.
- For the Rivels:
- Crack and beat the eggs, then slowly stir in the flour and salt.
- When a thick dough mixture begins to form, work it into small chunks.
- Then add those small rivels into the soup mixture slowly.
- Finish the Soup:
- Add your shredded chicken back to the pot and season with onion salt, celery salt, and parsley. Cook, stirring occasionally, until the rivels start floating (usually about 5 minutes).
- Serve with some freshly baked bread or let it cool to store.


