Everyone imagines a traditional Thanksgiving or special occasion dinner with a beautiful turkey carved at the head of the table. After all, the main course is the most important part of any holiday meal planning.
But how about adding a twist to your dinner menu this year? Instead of a turkey, you might want to try turducken! Keep reading to learn all you need to know about how to cook turducken.
What is a Turducken?
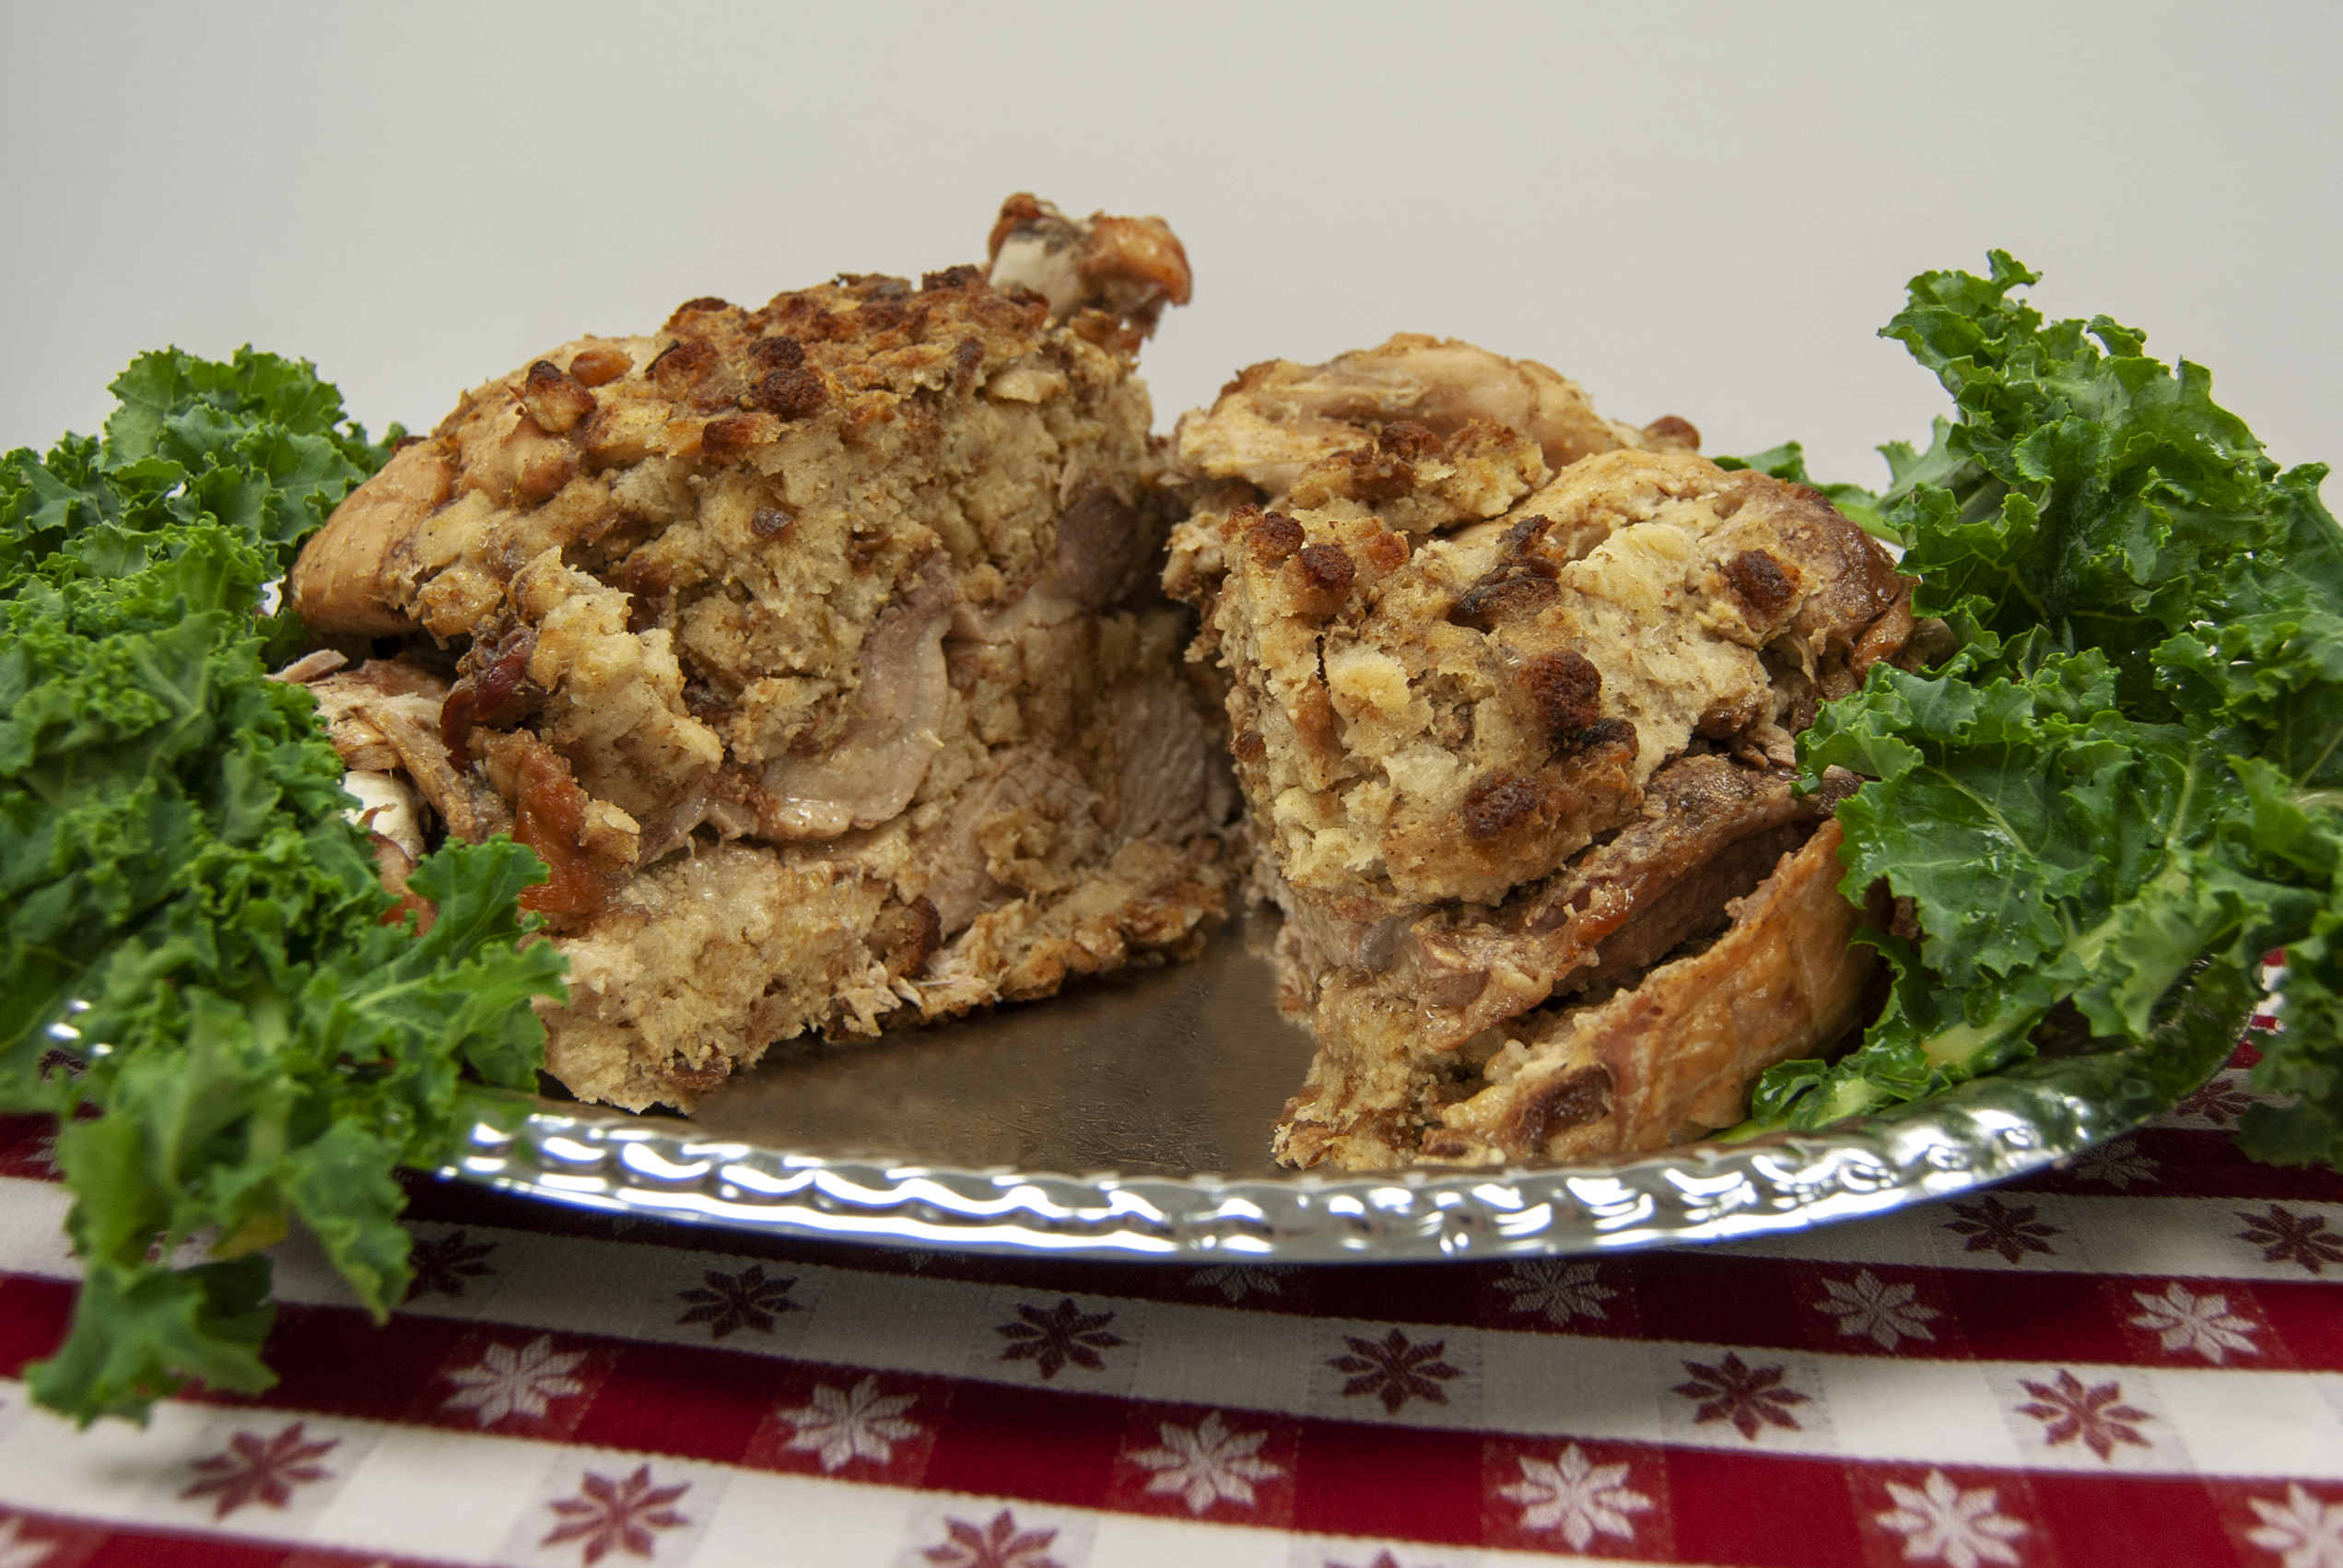
A turducken is the ultimate holiday main dish and one of the many unique items you can find in our market. The name is a mash-up of its three main components: turkey, duck, and chicken.
Though not much is known about their exact origins, many stories support the claim that their roots originated in Louisiana (specifically in a diner around the 1970s).
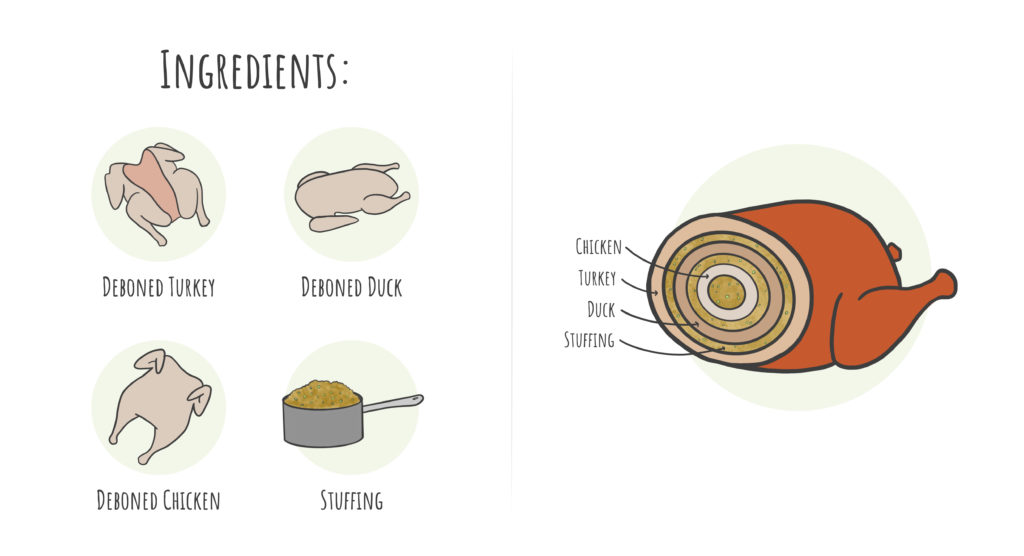
Turduckens are prepared by stuffing a chicken into a duck and then stuffing that into a turkey (all three of which are deboned). Each bird is separated by a layer of homemade stuffing, the contents of which can differ depending on your tastes and preferences.
Where to Buy a Turducken
Preparing a turducken can be a complicated process, especially when it comes to deboning each bird. Because of this, buying a premade turducken is the best option for those with little time and fewer culinary skills.
While they can be hard to find at your local grocery store, you can usually find a stuffed turducken at any specialty meat store or even the butcher shop at a local farmer’s market.
Ways To Cook Turducken
While there is no right or wrong way on how to cook turducken, unfortunately, a turducken doesn’t cook any faster than a traditional Thanksgiving turkey.
In fact, due to its many layers, your turducken may need to cook a little longer. We suggest cooking a turducken for 6-7 hours to avoid any risks of consuming raw poultry.
However, you will find that roasting/cooking turducken is a more hands-off process. The juices from each layer of poultry cause a turducken to baste itself from the inside out, which means you won’t have to stop every hour to baste your dish.
Here are our recommended turducken cooking instructions:
- Let the turducken stand at room temperature for 1 hour before cooking.
- Preheat your oven to 325°F.
- Set your turducken seam-side down and breast-side up.
- Place it in a baking bag and onto a heavy roasting pan. Tent loosely with aluminum foil.
- Roast your turducken for 7 hours. Your turducken is done roasting when a meat thermometer inserted into the center reaches 190°F.
- Let your turducken rest for 30 minutes before carving.
Using an Oven Bag vs. Deep-Frying Your Turducken
As mentioned in our directions, cooking a turducken in an oven bag is highly recommended for the best results.
Not only does the bag ensure a faster cooking time by keeping more in more heat, but it also ensures that the meat is moist and juicy. Plus, it allows for an easy clean-up upon the bird’s removal from the oven.
You may have heard of deep-fried turduckens being a cooking option as well. However, to the disappointment of many fans of deep-fried turkey and chicken, it’s not recommended.
Unlike a traditional turkey, turducken is completely deboned. Without bones to hold it together, a turducken has a tendency to fall apart. Additionally, a turducken is stuffed, not hollow, and will cook unevenly during the flash fry process.
How to Carve a Turducken
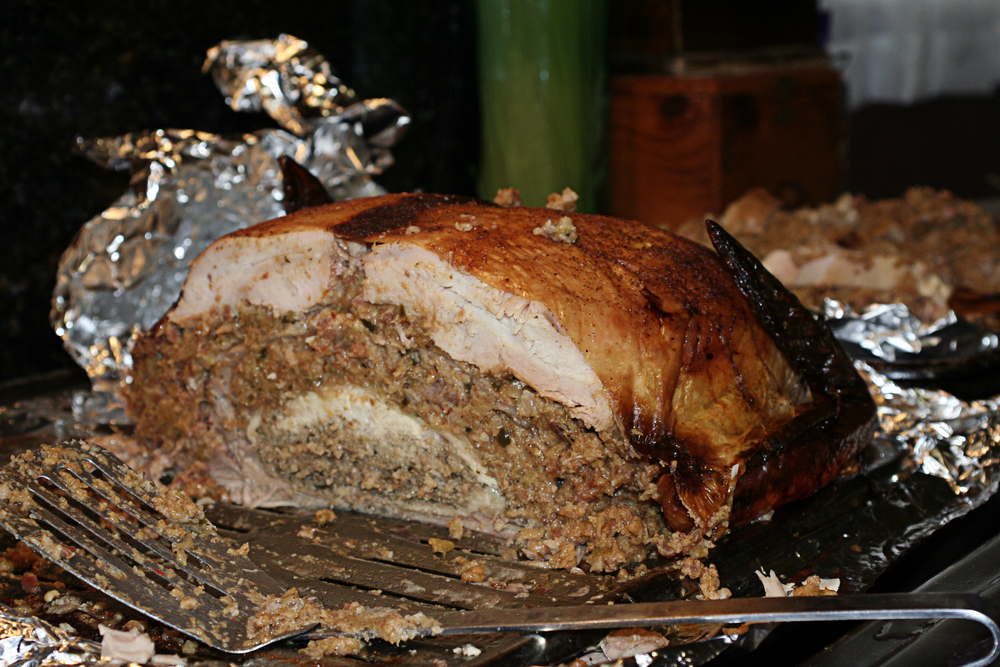
Once your turducken has rested for at least 30-45 minutes after cooking, you can begin carving your bird. Make sure you have a sharp knife, a cutting board, and a platter to transfer your pieces onto.
When you have everything you need, follow these steps below:
- Remove any threads/twine holding the bird together.
- Remove the legs by carefully cutting between where the body and legs are connected. Set to the set.
- Make long, horizontal slices along one side of the breastbone and remove the breast meat so it will have all of the turducken’s layers. Repeat this process with the other side.
- Remove the wings with the same precision as the legs.
- Cut any remaining meat from the turducken, and arrange it on your platter to be served and enjoyed.
Other Turducken Additions to Include
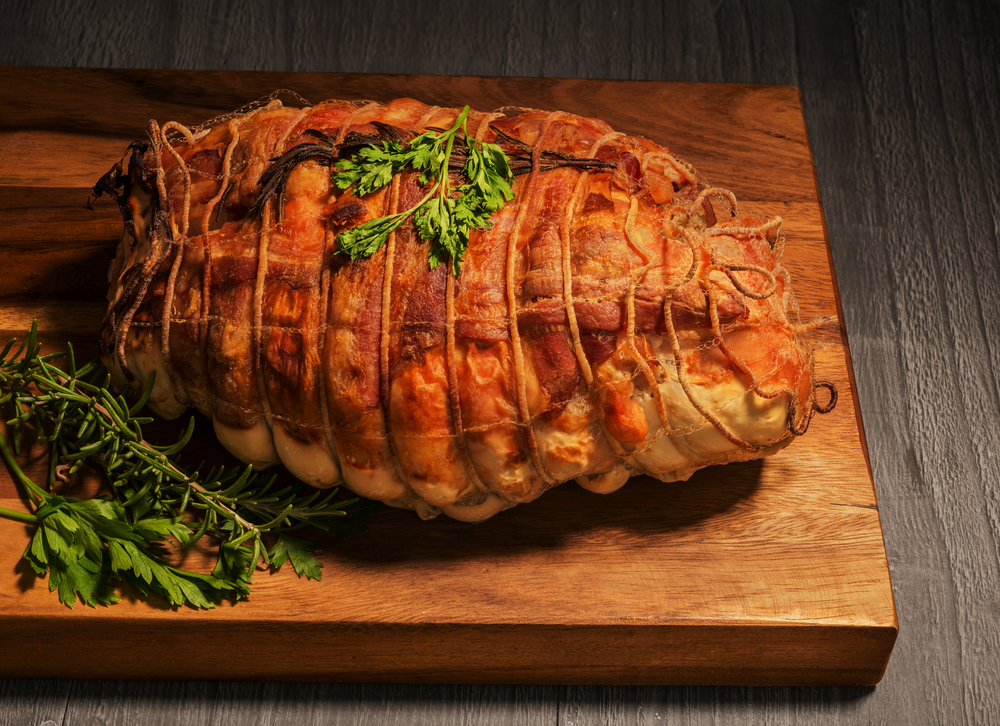
While most turducken recipes are somewhat similar, what sets many apart are how they choose to enhance the flavor of their birds. This can come in a variety of ways, ranging from subtle seasonings and herbal garnishes to rich stuffings and decadent glazes.
Here are a few enhancements we recommend that can really make your turducken stand out among the flock.
Seasoning
Regarding how to season a turducken, you can go as subtle or bold as you like. While most recipes like to keep it simple with salt and pepper, others can involve a combination of different fresh herbs and spices to enhance the flavor.
Here are a few recommendations we have for seasoning your turducken:
- Salt
- Pepper (Regular, Black and/or Cayenne)
- Paprika
- Basil
- Oregano
- Sage
- Garlic Powder
- Thyme
- Creole Seasoning
Stuffing
Your turducken stuffing is one of the most important additions to your dinner bird. Especially since it will be going in between the layers of the turducken, you should think about what kind of stuffing you’ll want to include.
Some recipes like to be creative and go fancy with the typical stuffing fixings you may be used to. Some might use a different kind of bread for the breadcrumbs while others will add meats such as bacon or sausage.
Or, if you’d rather keep it simple, you can use box stuffing, or whatever stuffing recipe you are familiar with using for side dishes and turkey dinners. It’s totally up to you!
Glaze
As you’ve probably guessed, your turducken glaze can be whatever you would like it to be!
If you have a glaze you typically reserve for your turkey or ham dishes, you can experiment with them and see what will best bring out the flavor of your turducken.
But typically, you can never go wrong with a sweet or fruity glaze to balance out the other strong flavors. Especially if you find a way to incorporate honey into your dish.
You can go extravagant with many different garnishes and ingredients, or you can go with a simple three-ingredient glaze. Ultimately, it’s up to you!
This blog was originally published November 2nd, 2018, and has been updated in May 6th, 2024.

